Recapping considerations for the Electra Piano
I am going to deviate shortly from the planned overview of the action to provide a quick reference for those planning on recapping their Hohner Electra Piano. You can expect less prosaic text than the last post. Maybe that will suit your reading style a bit better. I once learned I should cater to all learning types.
You have decided upon recapping your instrument. It is definitely high time to replace those electrolytics. They can’t be trusted. They pose a threat to any transformer trying to supply the power to the instrument. Good. It’s the right decision.
You want to order the caps, so you have your material ready. You jump on your favourite search engine and look for the schematic, and land on clavinet.com’s pdf of the service manual. You order the caps.
Once you open the instrument and take a look at the dusty circuit-board, the eagle-eyed DIYer will notice that there are 2 tiny deviations from the schematic: one cap is not on the schematic, and another one has a different value than in your instrument. “Great… Should have checked before placing the order.” If you check this post before having ordered though, you should be prepared.
For all I know, these tiny deviations might not be on all instruments. Likely, at some point in production, engineers realised that making these changes helps the instrument function better. But just in case, you might want to note this down, in case your instrument is like the ones I have personally encountered.
First difference: decoupling tantalum capacitors
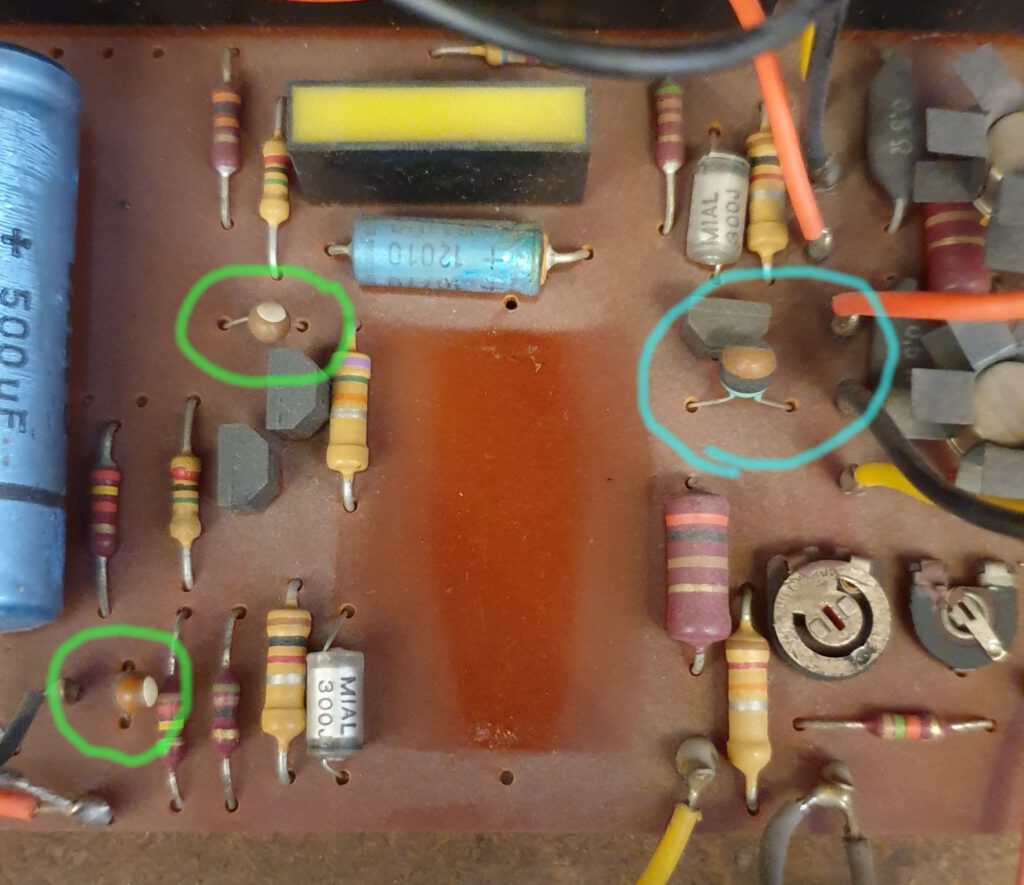
Figure 1 shows the circuit board mid-recapping. While the schematic shows 3 polarised decoupling capacitors of 1uF each, the instrument begs to differ. Checking the colour code (Fig. 2), these tantalum caps are: circled in green are the 1uF caps. Circled in blue is a 10uF capacitor. Figure 2 also shows the orientation of the caps’ polarisation.

Should you change them? It is difficult to say… On the one hand, when tantalum caps fail, the short circuit… But in this audio line application, they likely will not tend to fail because they are not pushed to their limits. I decided to change them for bipolar electrolytic caps (I went for the Nichicon Muse ES line), because I’d rather not get the call that something in the instrument is wrong and I should come check it out. If the instrument were mine, I’d probably leave them there once they pass a leakage test.
Second difference: an extra cap
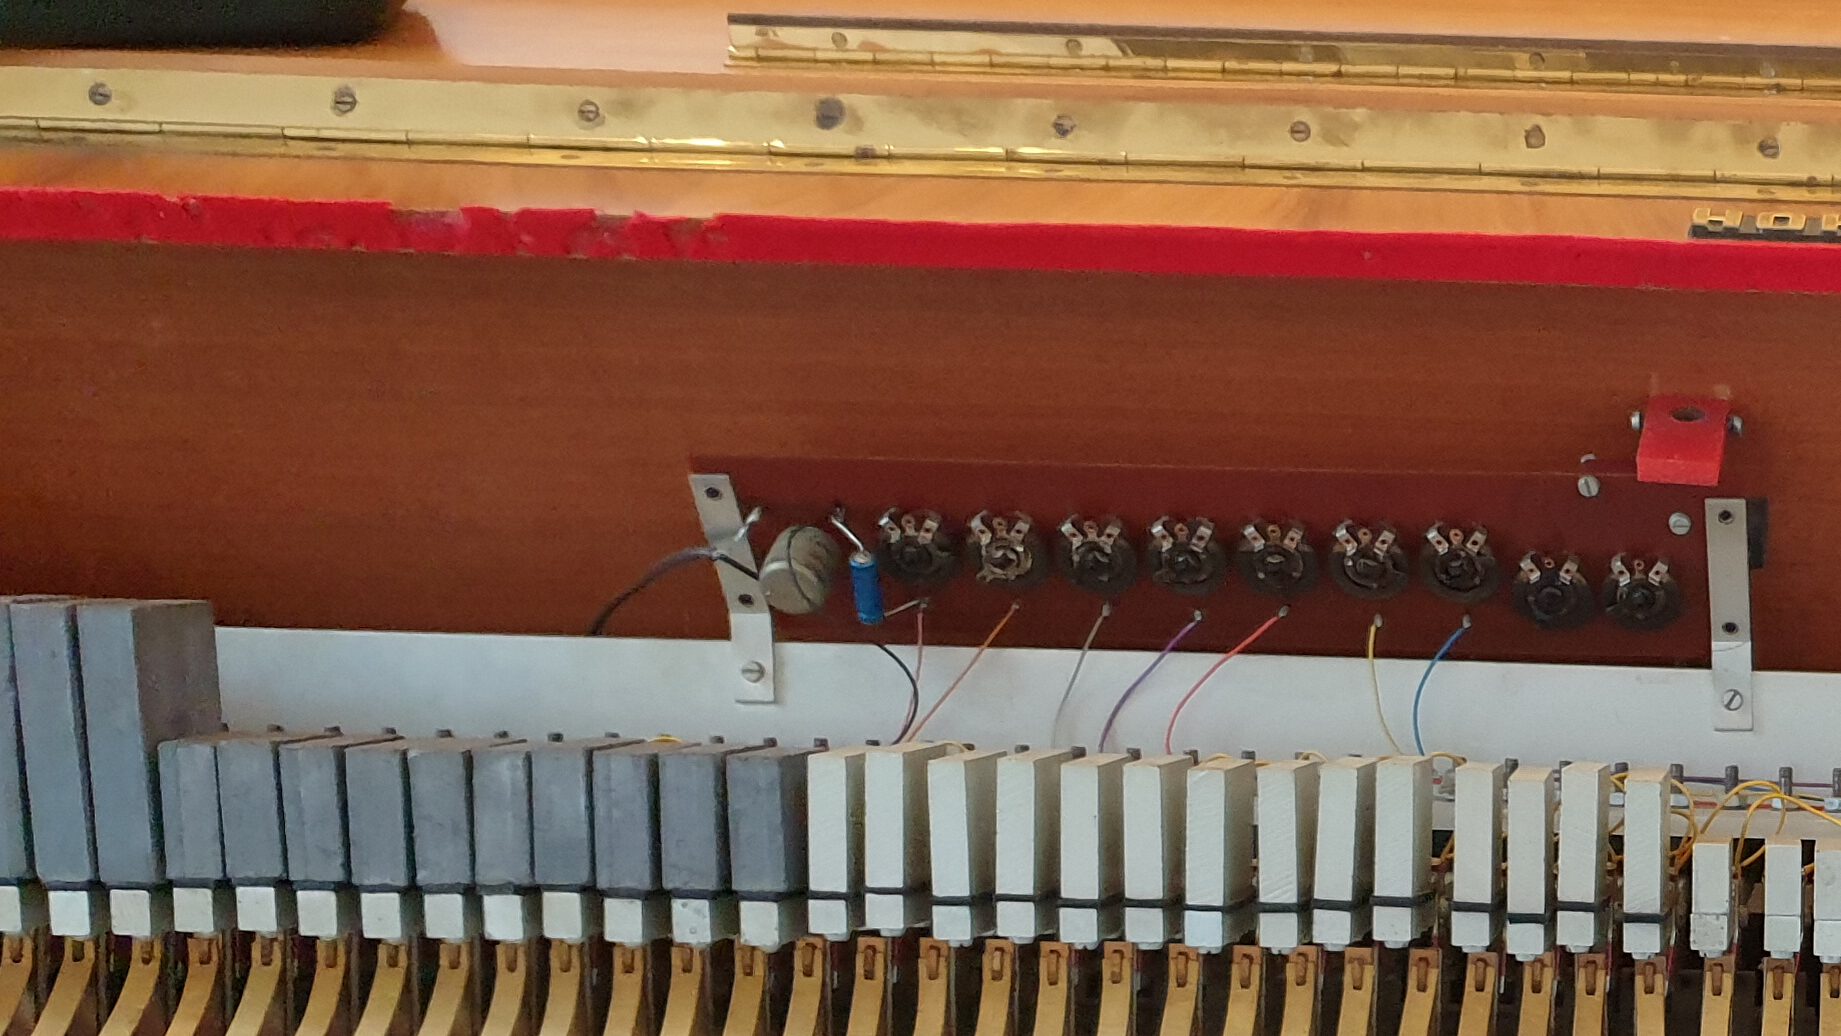
An unmentioned electrolytic cap is present in the instrument. See the blue cap between the transformer and the section volume adjusters in Fig 3.
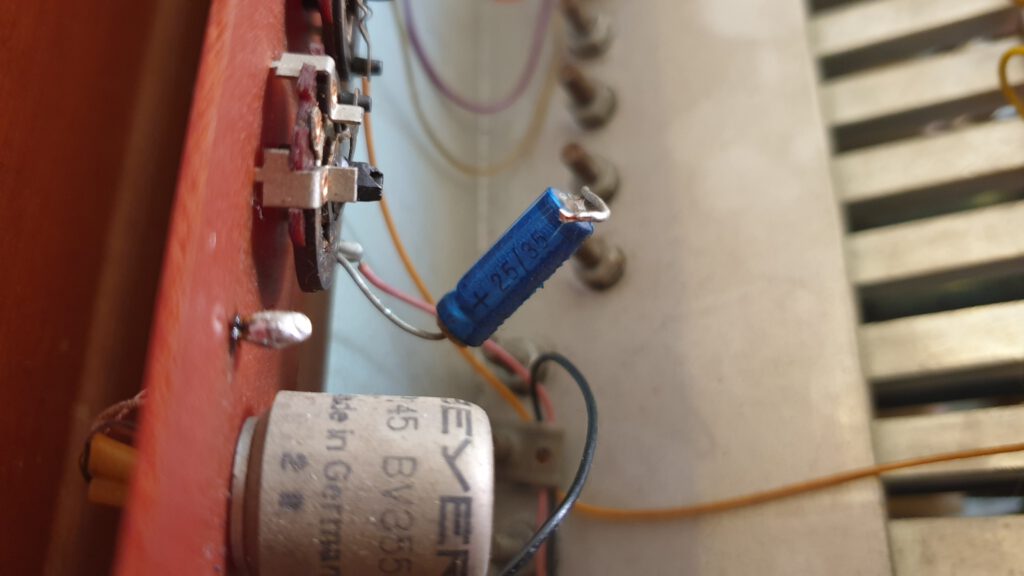
Taking a closer look, the cap reads 25/35. Therefore, this means a 25uF and 35V rating (see Fig. 4).
Conclusion
Hope this is useful for your recapping endeavour, or that you find it interesting if you are just looking for info. If you are recapping the instrument, please take precaution and ALWAYS follow safety procedures. Triple check that you are disconnected from mains. Always discharge caps before putting a soldering iron to them. Recap slowly to minimise errors: change one or two caps, then test if it works (and then follow the safety procedure before putting your fingers on the circuit board again).